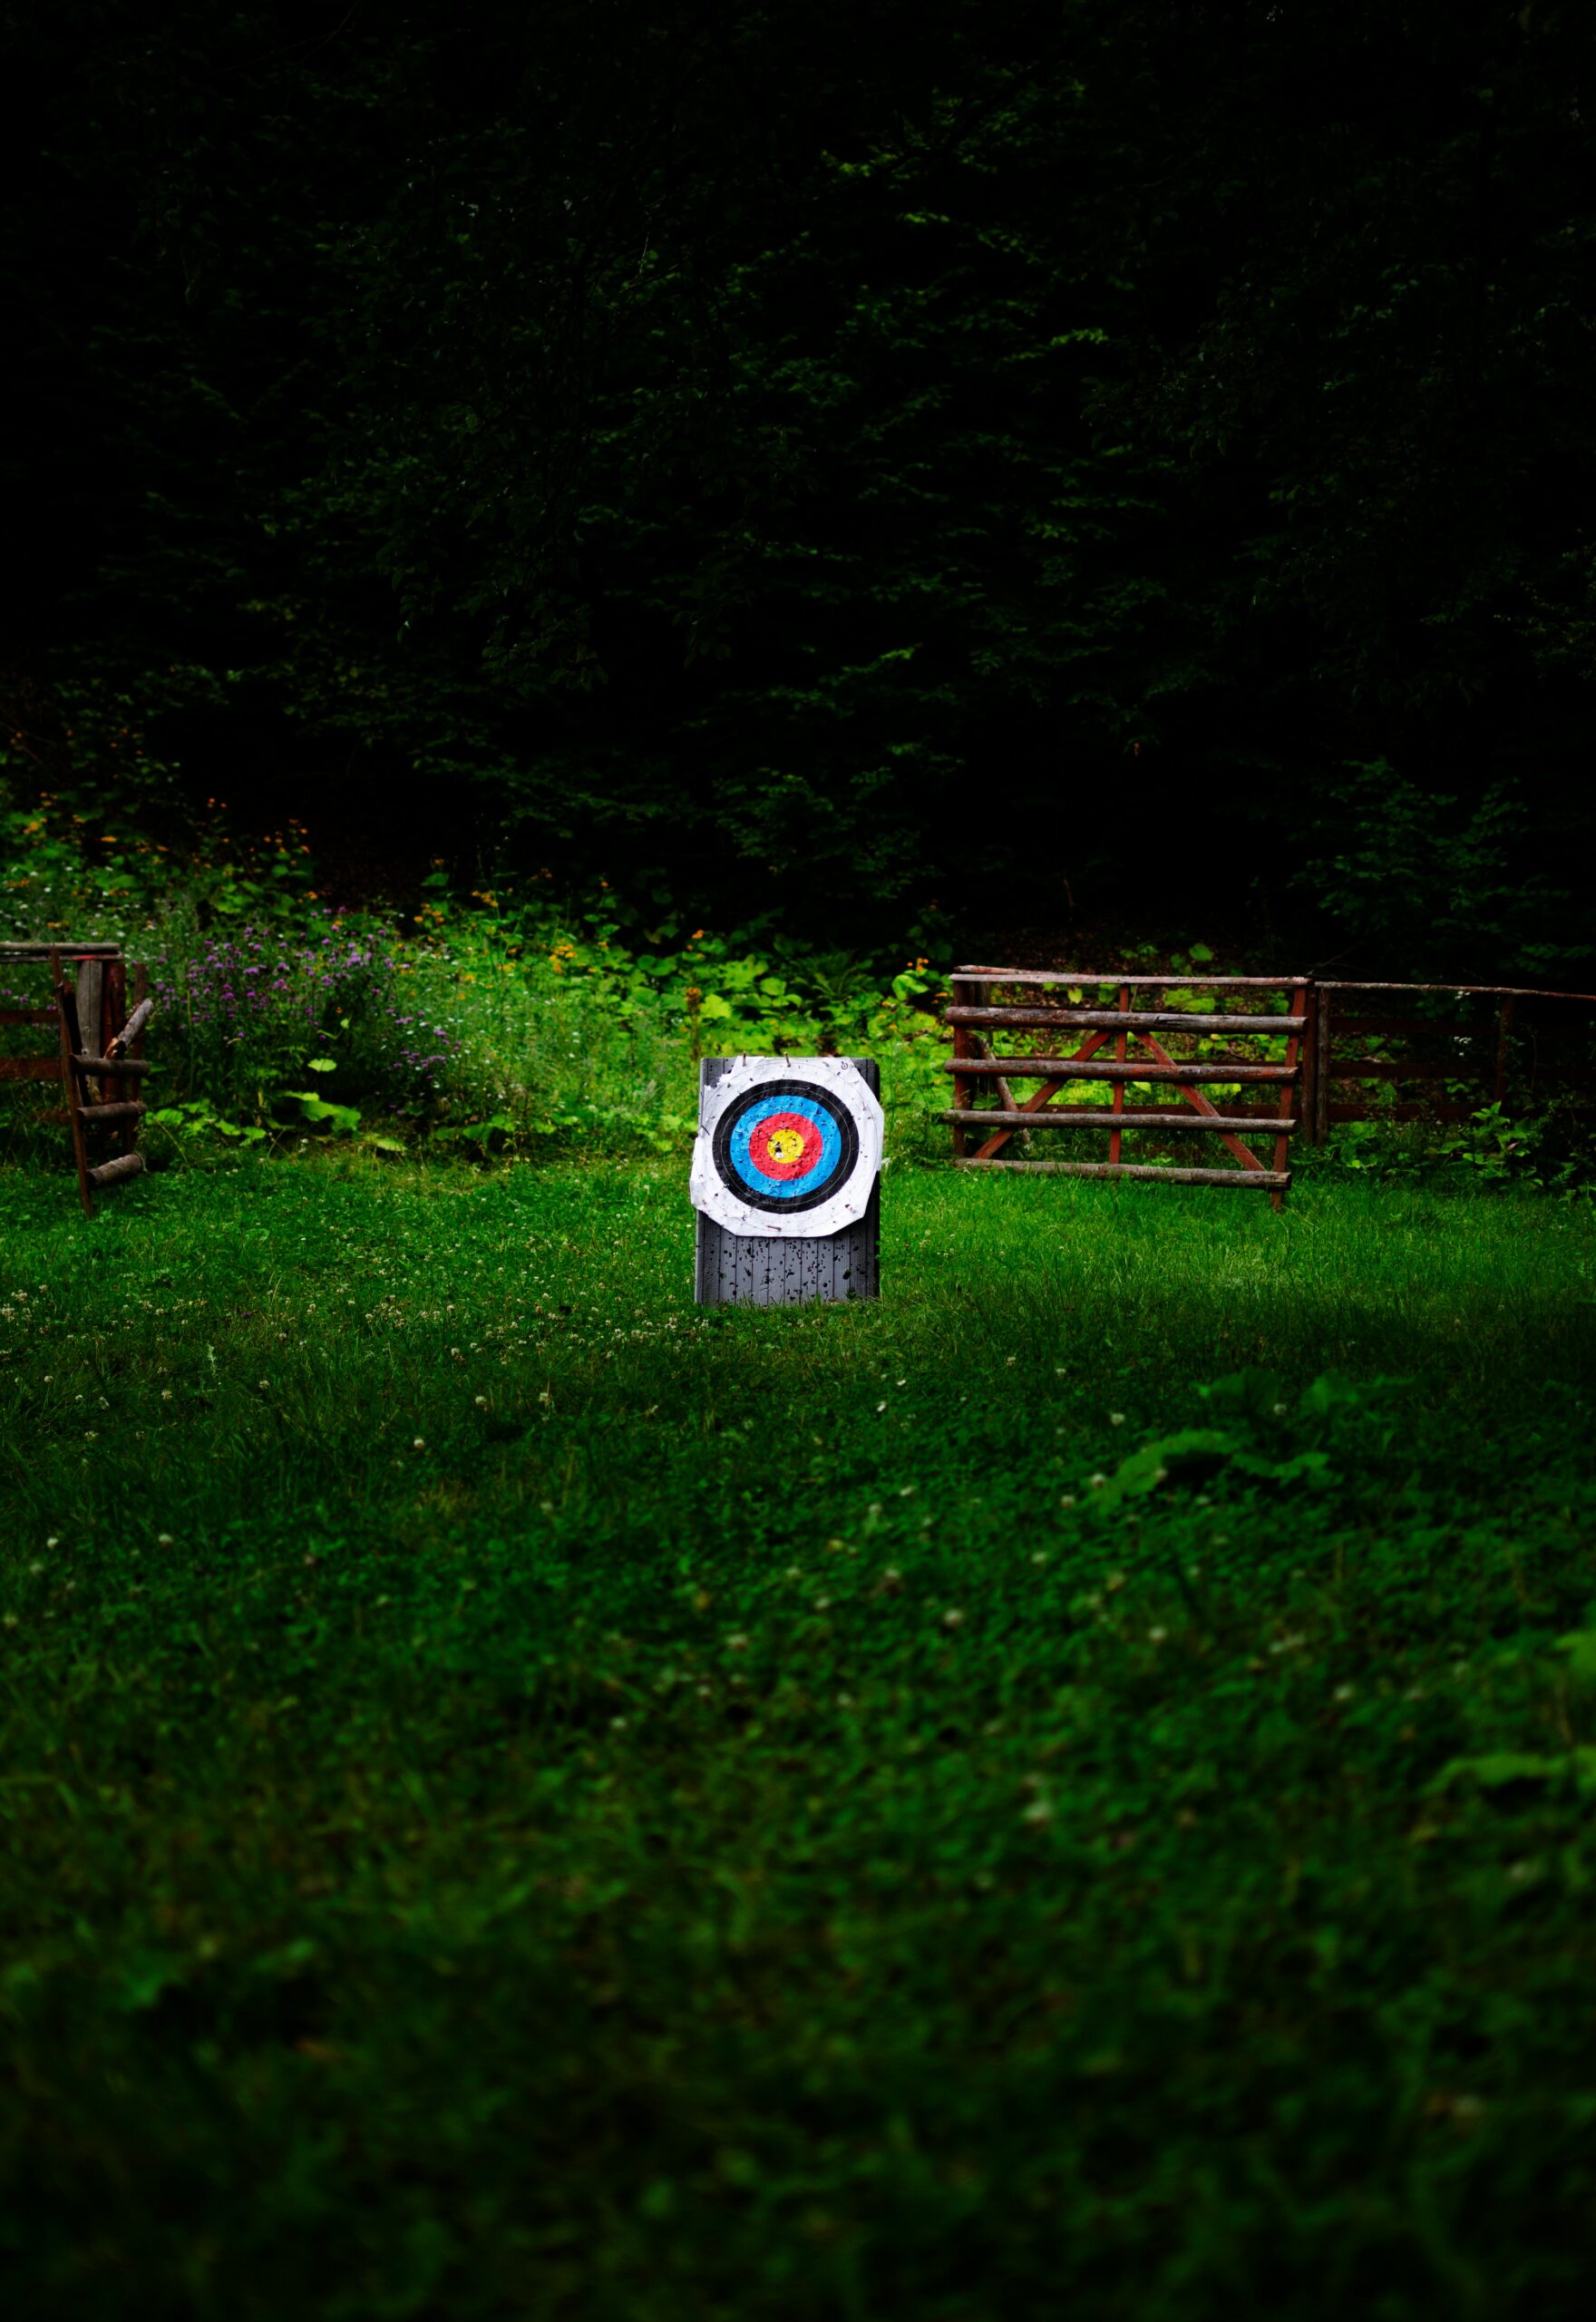
Are you seeking creative ways to bring extra excitement and safety to your archery tag games? DIY archery tag targets are an affordable and engaging solution to boost fun and challenge skill levels simultaneously. This comprehensive guide explores essential starting points for your DIY archery tag target ideas, inventive design adaptations, material choices for robust construction, step-by-step assembly instructions, advanced target concepts for thrilling matches, and methods to optimize your custom targets for ultimate player safety and enjoyment. Whether you’re a corporate team-building coach, a young adult planning a fun outing, or a family seeking a unique outdoor game, these creative ideas combine practicality with playful creativity.
Key Takeaways
- Creative themed targets like monsters, shields, and abstract designs enhance immersion and boost player engagement.
- Durable materials like high-density foam, plywood, and PVC provide long-lasting, safe gameplay setups.
- Precise measuring, secure joints, and layered scoring zones ensure stable targets and exciting shooting dynamics.
- Advanced features like moving parts, hidden scoring areas, and mission-based layouts add strategic depth and variety.
- Routine maintenance, weatherproofing, and adjustable difficulty make DIY targets reliable, inclusive, and ideal for team building.
Essential Starting Points for Your DIY Archery Tag Target Ideas

Jumpstarting your DIY archery tag targets begins with understanding how to blend creative design and practical safety. Whether building for an escape room or planning a backyard team-building match, your setup should absorb impact, remain stable, and be easy to modify. Staying on a firm foundation ensures fun and secure gameplay for all participants.
Define Safety and Player Experience Requirements
Before cutting materials or assembling frames, define your shooting space, player count, and age groups. Knowing your audience helps determine target size and distance. Prioritize safety by choosing impact-absorbing surfaces and limiting ricochets with foam or padded surfaces. Defining this early avoids future design limitations, whether for competitive archery sessions or relaxed group play.
Personalize for Visual Appeal and Thematic Play
Homemade targets should be more than flat boards. Use wood cutouts, foam creatures, or painted panels that match your event’s theme. A castle wall target for fantasy events or futuristic panels for sci-fi sessions makes the game immersive. Creative visuals aren’t just aesthetic—they guide shooting focus and keep players engaged longer.
Focus on Strong Frames and Smart Layouts
Use durable materials like plywood for the base and foam for the front face. Secure your design with screws and adhesive for impact stability. Divide targets into scoring zones using contrasting paint or tape. Spacing between scoring zones boosts competitive fun and helps with skill progression, especially in repeat-use team building environments.
Inventive DIY Archery Tag Target Ideas for Memorable Confrontations

Once your foundation is in place, it’s time to explore creative DIY target concepts that bring archery tag sessions to life. Bold shapes, themed visuals, and interactive layouts make shooting more engaging for players of all ages. These designs enhance skill-building, making each match a dynamic, competitive experience.
Create Themed Targets for Visual Engagement
Bring your game to life with imaginative themes. Shape foam or wood into shields, crates, or alien panels to match escape room scenarios or party themes. These visual targets offer more than aesthetics—they help players aim, anticipate, and connect with the storyline of your event. Team building becomes more immersive when the shooting challenge reflects the game’s environment.
Introduce Dynamic Scoring Zones
Instead of plain bullseyes, try building targets with layered scoring areas. Assign higher points to smaller inner zones, and color-code outer zones for clarity. Using foam or thick cardboard with different textures lets arrows stick safely while signaling different scores. This boosts shooting precision and helps teams compete in more structured ways during tournaments or casual sessions.
Add Responsive or Moveable Features
Install targets that fall, rotate, or sway slightly on impact. Use threaded rods or weight-balanced bases to allow tipping without risk. These kinetic features reward direct hits with visual feedback, increasing excitement in archery tag matches. Responsive targets work exceptionally well in group games, creating tension and laughter with every successful shot.
Choosing Materials for Resilient and Secure Homemade Archery Tag Targets

Building effective DIY archery tag targets begins with smart material selection. Prioritizing durability and safety ensures that each target can handle repeated use without compromising player experience. Whether you’re prepping for corporate team building or backyard archery fun, reliable materials will keep your setup solid and safe.
Use High-Density Foam for Safe Impact Zones
Foam is essential for absorbing the energy of each shot. Choose high-density foam that won’t tear or lose shape after repeated impact. Foam insulation panels or thick scrap foam can be cut into layers, forming the center of your targets. This material minimizes bounce-back and keeps archery gameplay safe, even during fast-paced shooting rounds.
Reinforce Targets With Plywood or Scrap Wood
Back your foam with a plywood sheet or recycled wooden boards to add structural strength. Wood offers reliable support and helps targets stay upright throughout each match. Cut your base with a circular saw and attach layers using strong adhesive or screws. This combination of foam and wood makes targets reusable and steady in indoor or outdoor play.
Build Frames With PVC for Lightweight Stability
For frames or stands, PVC piping is a practical, low-cost solution. It’s light enough for easy transport but strong enough to hold your targets in place. Use connectors and adhesive to form your structure, adjusting height or shape to suit your space. This material works well for team-based archery events where quick setup and movement are a must.
Assembling Your Custom Archery Tag Targets Methodically

Once your materials are ready, it’s time to bring your target design to life with careful planning and precision. A thoughtful assembly process ensures your DIY archery tag targets are sturdy, safe, and visually engaging—ideal for everything from casual shooting games to high-energy team building events.
Prepare Tools and Materials in Advance
Before starting, gather all essential tools, such as a circular saw, utility knife, screwdriver, drill, and measuring tape. Ensure your workspace is clear and well-lit, especially if you’re working with wood or PVC. Having everything ready speeds up the process and reduces the chances of errors that could weaken your target’s construction.
Cut and Shape With Consistency
Measure and mark each section of your target with care to ensure symmetry and proper alignment. When cutting foam or plywood, use steady, guided motions to keep edges clean and uniform. Scoring zones should be clearly defined and sized appropriately for varied shooting challenges. This level of consistency elevates gameplay and adds a professional touch.
Secure Framework for Long-Term Use
Assemble the target by attaching foam to its wooden backing and reinforcing all joints with screws and adhesive. If you’re building responsive or fall-over targets, use threaded rods or hinges to allow movement without compromising stability. Once built, test the structure with soft shots before full gameplay to ensure it holds up well during active sessions.
Advanced Custom DIY Archery Tag Target Concepts for Thrilling Matches

Once you’ve mastered the basics, you can elevate your archery tag setups with more complex and engaging target designs. These advanced concepts add excitement, unpredictability, and immersive challenge to casual games and competitive team-building events.
Design Mobile or Swinging Target Structures
Introduce movement by designing targets that swing, rotate, or glide. Mount lightweight wood panels or foam faces on pivoting PVC frames or suspend them with ropes for pendulum-style motion. These moving targets increase adrenaline and force players to improve their timing, making every shot feel earned and more satisfying.
Add Hidden Zones and Layered Challenges
Enhance strategic gameplay with targets that include concealed bonus zones hidden behind flaps or beneath breakaway layers of foam. When hit, these surprise elements can flip open or reveal bonus scoring sections, rewarding accuracy and encouraging creative shot planning. This setup is perfect for escape room-style missions or themed event challenges.
Combine Targets With Obstacles and Lighting
Create thrilling setups by placing targets behind partial barriers or within mazes made of cardboard walls, scrap wood, or pallets. Add LED strips or reflective paint to highlight scoring zones, making the shooting experience more immersive in low-light environments. These additions not only look impressive but also demand tactical coordination from teams.
Optimizing DIY Archery Tag Target Ideas for Ultimate Fun and Player Safety
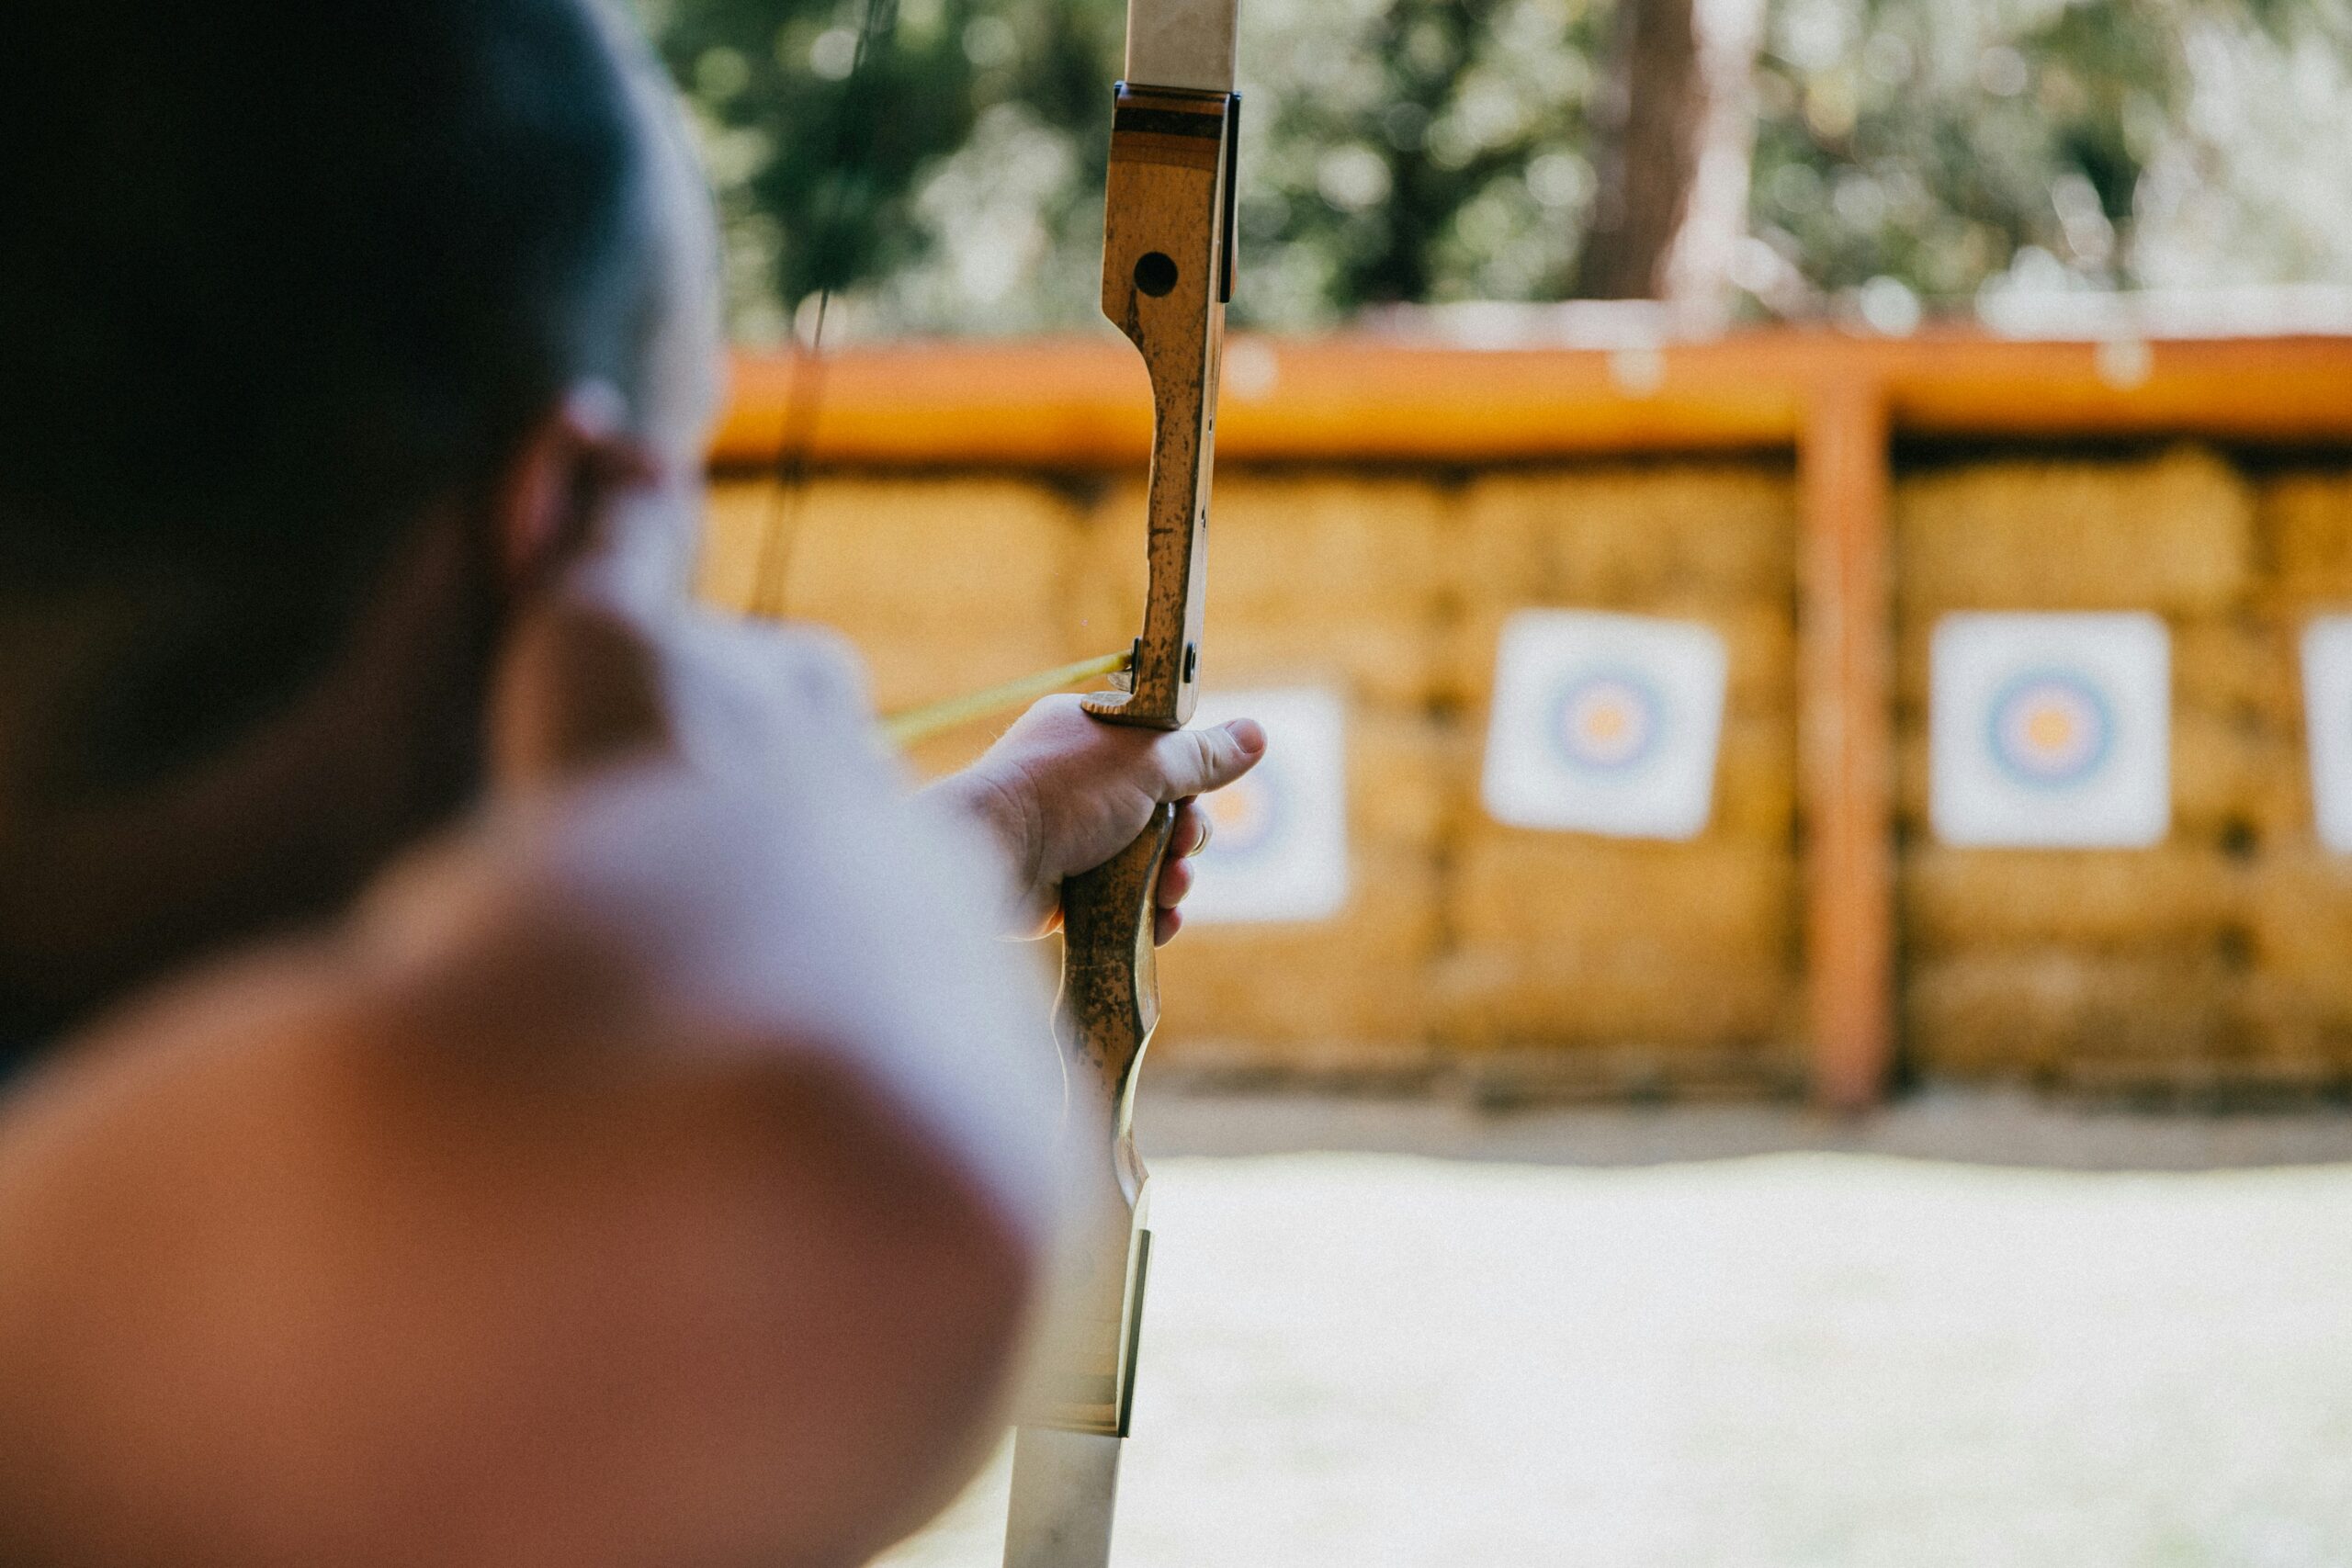
Once your targets are built, optimizing them ensures they’re safe, engaging, and suitable for all types of archery tag events. Whether you’re designing for family fun or a competitive team building shootout, thoughtful improvements impact gameplay.
Position Targets for Safe, Dynamic Gameplay
Arrange your targets in well-lit, open areas where players can clearly see scoring zones and move freely. Vary the distances between each target to cater to different skill levels and keep gameplay interesting. Avoid crowding targets too closely, as this can lead to accidental misfires or confusion during fast-paced shooting.
Use Clear Scoring Zones to Simplify the Game
Paint bold, contrasting colors or apply vinyl tape to highlight scoring areas and point values. Create zones easily recognizable from a distance, even during high-energy play. By making the scoring system visual and intuitive, players can focus on enjoying the experience rather than stopping to clarify rules.
Prioritize Stability, Maintenance, and Custom Adjustments
Check your targets regularly for damage, especially around impact zones. Reinforce frames with extra adhesive or threaded rods if needed. Add features like adjustable height or removable sections to modify targets for different age groups or team-building scenarios. Maintenance goes a long way in keeping your archery setup reliable and safe.
Frequently Asked Questions
What are the most important safety considerations when building DIY archery tag targets?
Safety considerations include using high-density foam and sturdy backing materials like plywood or pallets to absorb impact. Ensure all joints are securely fastened with screws and adhesives, and regularly inspect targets for wear and tear to prevent accidents.
Can I make these targets using recycled materials?
Yes, recycled materials such as scrap wood, reclaimed plywood, and repurposed cardboard can be used. Reinforcing these materials with modern adhesives and protective coatings ensures they meet durability and safety requirements.
How do I adjust the difficulty level of my DIY targets?
Difficulty can be adjusted by changing target thickness, adding multi-zone scoring areas, or modifying the distance between the target and shooter. Concealed high-value zones and moving parts further enhance challenge levels, allowing you to tailor the experience for different skill sets.
What tools are essential for assembling these targets?
Essential tools include a circular saw, table saw, utility knife, screwdrivers, measuring tape, and a drill. Safety gear like gloves and eye protection should also be used during assembly to ensure a safe construction process.
How often should DIY archery tag targets be maintained or replaced?
Maintenance should be conducted after every few game sessions by inspecting for loose screws, material degradation, or weather damage. Depending on usage and environmental exposure, targets may need repair monthly or complete replacement every season to ensure ongoing safety and performance.
Conclusion
DIY archery tag target projects offer a fantastic blend of creativity, fun, and safety for diverse groups, from corporate events to family outings. With careful planning, proper material selection, and methodical assembly, you can create targets that are not only visually engaging but also robust enough to withstand repeated use. Advanced concepts like moving or mission-based targets further enhance gameplay, ensuring that every match is dynamic and memorable. By applying these detailed ideas and optimization tips, you can elevate your archery tag experience to new heights while maintaining the highest safety standards.

